重新整理了下博客内容,删除了以前的文章,换了个简洁的主题。学习还是要养成输出的习惯,学完一块内容后,做个总结,回头看看自己过程也是很好的事情。
本文记录一下github pages搭建的过程。
0x01 hexo安装
npm等环境安装不再详述。
直接上命令:npm install -g hexo
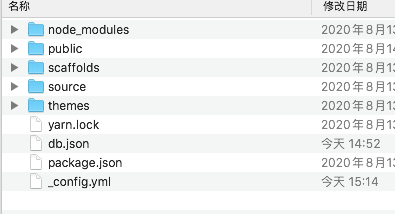
初始化命令:hexo init,生成基本的结构

0x02 github创建项目
创建username.github.io名称的项目即可,对应的github pages就是这个
blog目录下设置git全局参数:
1 | git config --global user.name "name" |
0x03 主题及配置
修改_config.yml文件deploy,设置如下:
1 | deploy: |
选择的主题是https://github.com/forsigner/fexo,够简洁的主题
替换的方法比较简单,参考文档http://forsigner.com/2016/03/10/fexo-doc-zh-cn/
这里记录下常用的命令:
1 | # 升级 |
主题的配置路径themes/fexo/_config.yml,具体配置参数可以参考文档自己做细微的调整。
其他hexo常见命令如下:
1 | # 新建测试页面 |
0x04 绑定自定义域名
需要添加CNAME,将自己的域名填写到CNAME文件中,DNS解析选择CNAME解析。

以上就是博客搭建过程。搭建过程中也尝试了给博客提提速,github国内访问实在太慢,而且百度爬虫也会403。奈何尝试过CDN(需要备案放弃)、coding.net的pages、gitee pages,各种复杂配置,还是回到了最简单的方式,直接github访问省时省力。